Step by step
Solder the cables
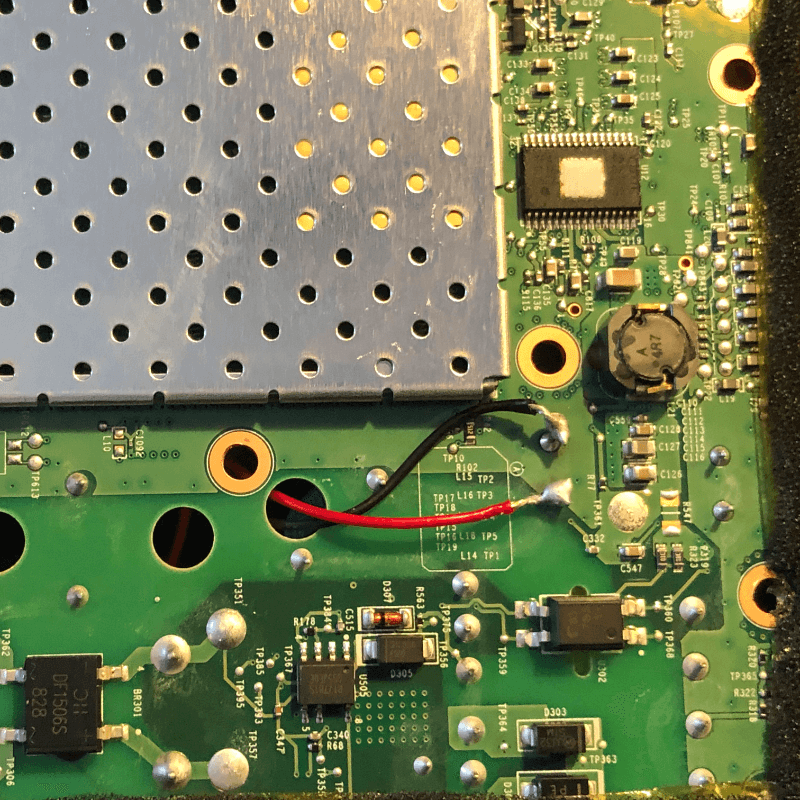
Solder the two cables on to the circuit board. The red cable is the positive (+) contact. put the cables through the hole next to it. For the cables I used the other half of the USB cable where we will need the plug later.
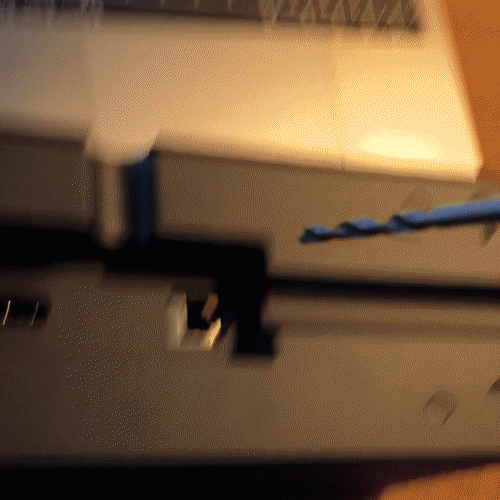
Drill a hole
Drill a hole into the case. I used a 4mm wood drill - but this depends on how thick your USB cable is.

USB cable lenght
Use the right length of the USB cable so you can store it in the back when you don't use it.
Fix the cable length
Fix the USB cable from the inside with a zip tie and cut off the end.
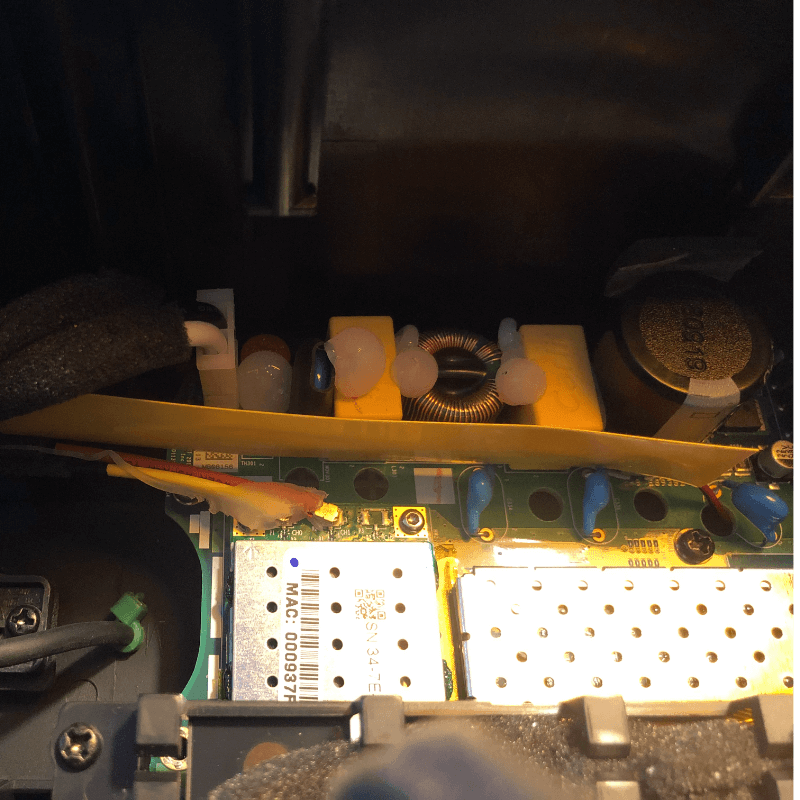
Protoect the cables
Optional: As I had a yellow shrinking pipe laying around I used it to protect the cables coming out of the circuit board - without shrinking it.

Solder the USB cable to the booster
Solder the USB cable to the booster. Red is positive (+) again. I use this Step-up Boost for less than EUR 5.- (Amazon affiliate link).
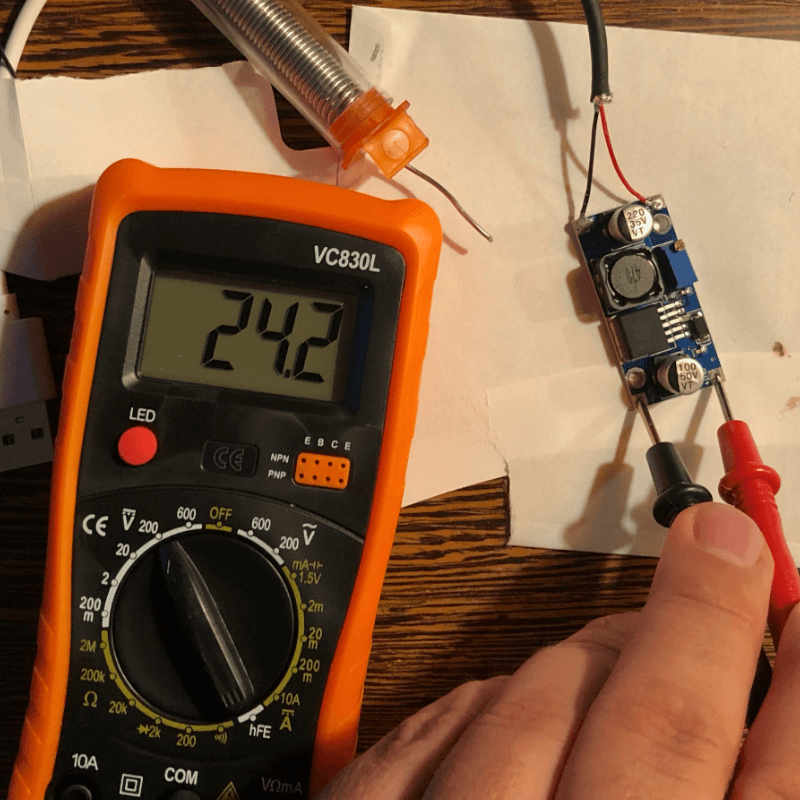
Set the output to 24 volts
Solder the two cables on to the circuit board. The red cable is the positive (+) contact. put the cables through the hole next to it. For the cables I used the other half of the USB cable where we will need the plug later. I use this EUR 12.- digital multimeter. (Amazon affiliate link)
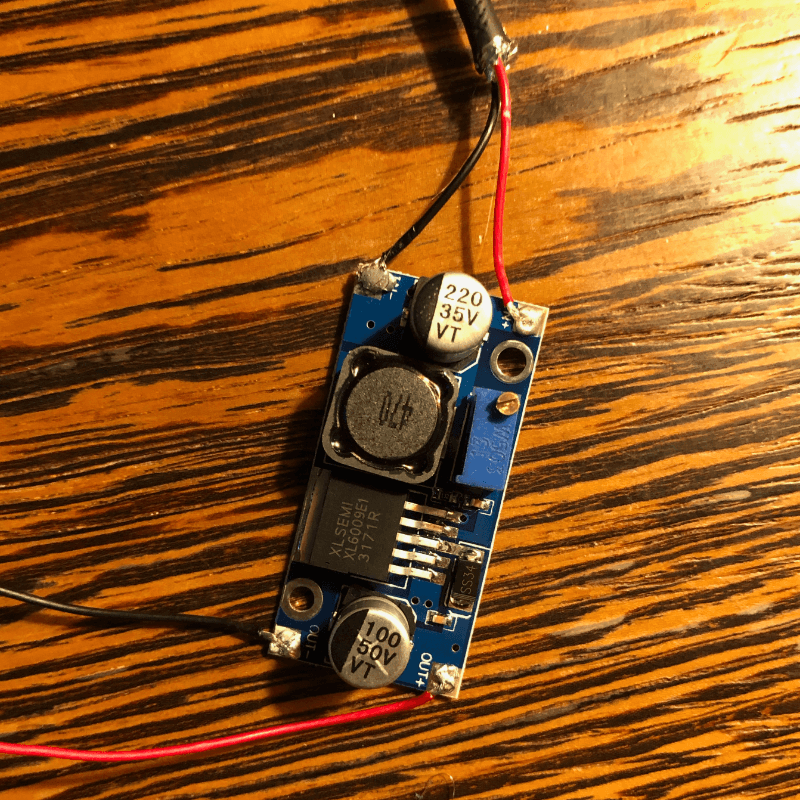
Connect to circuit board
Solder the Step-up Boost on to the cables running to the circuit board.
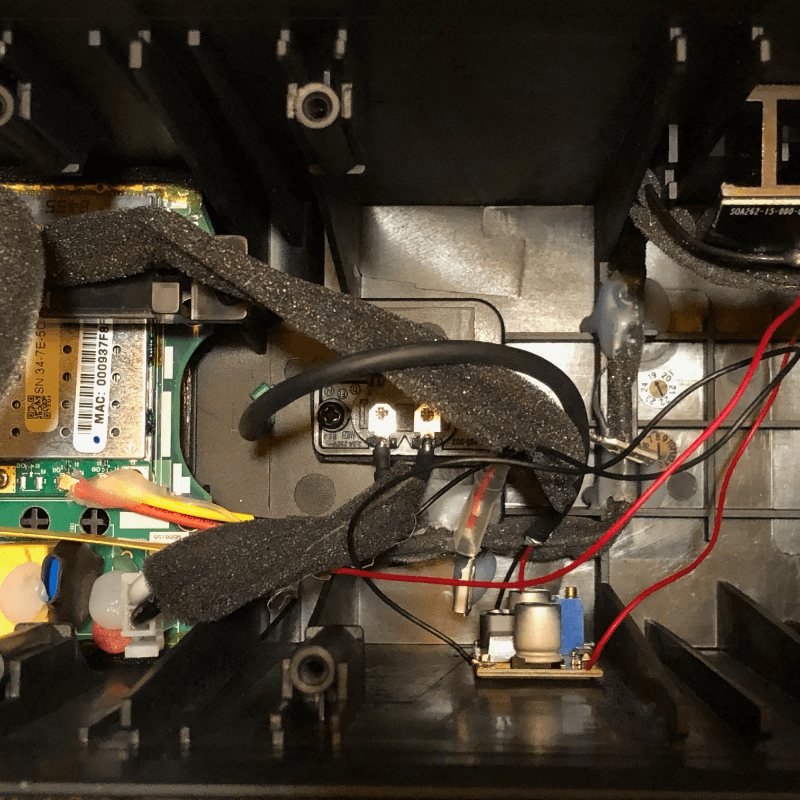
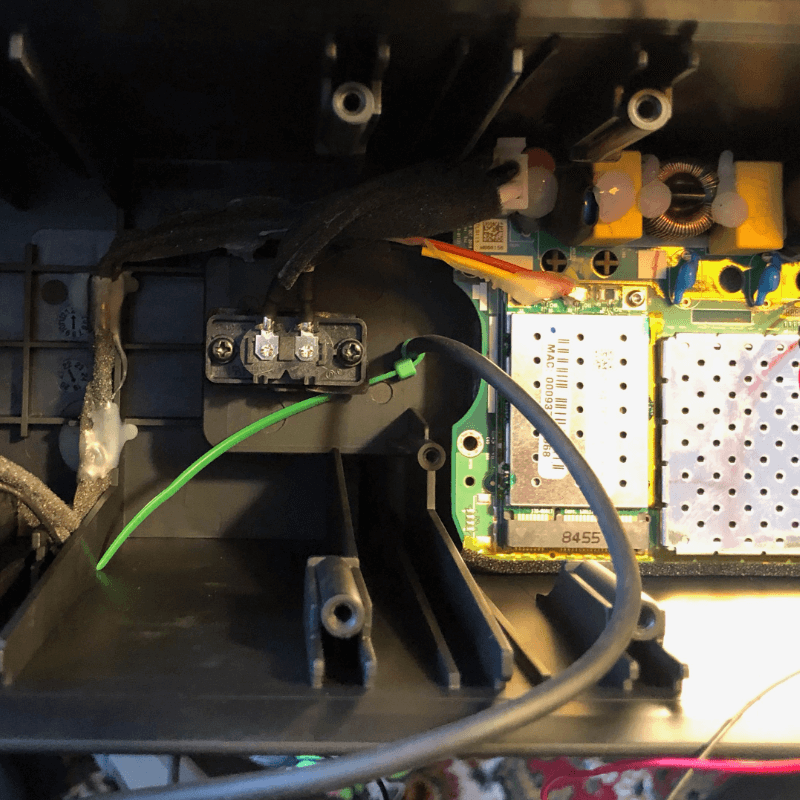
Use lot's of hot glue
Use a hot glue gun (Amazon affiliate link) to fix the booster in the case. I also used some glue to fix the antenna cables to the board again.

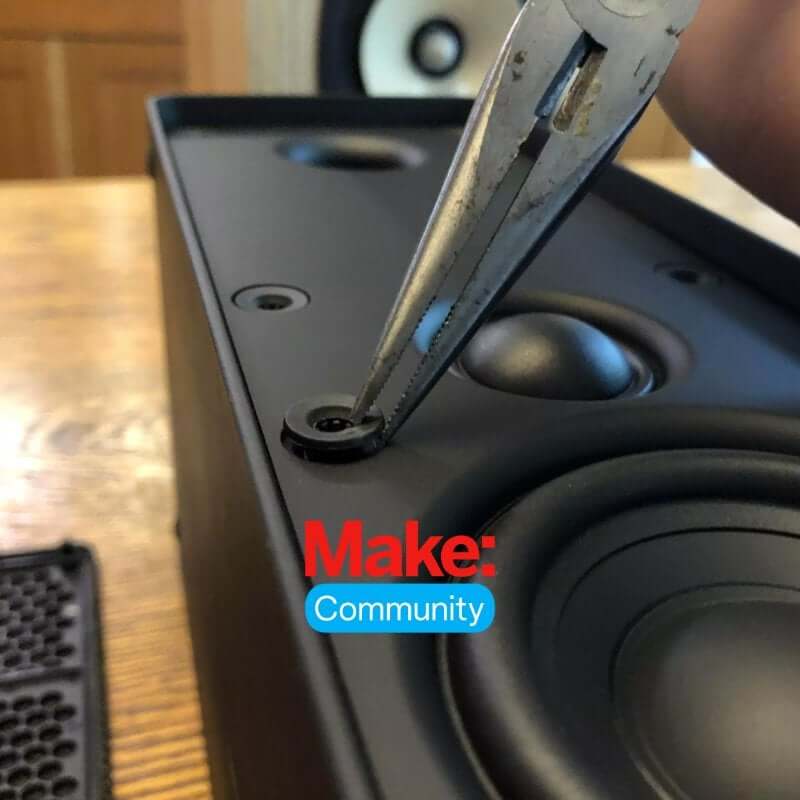
Reassemble the speaker
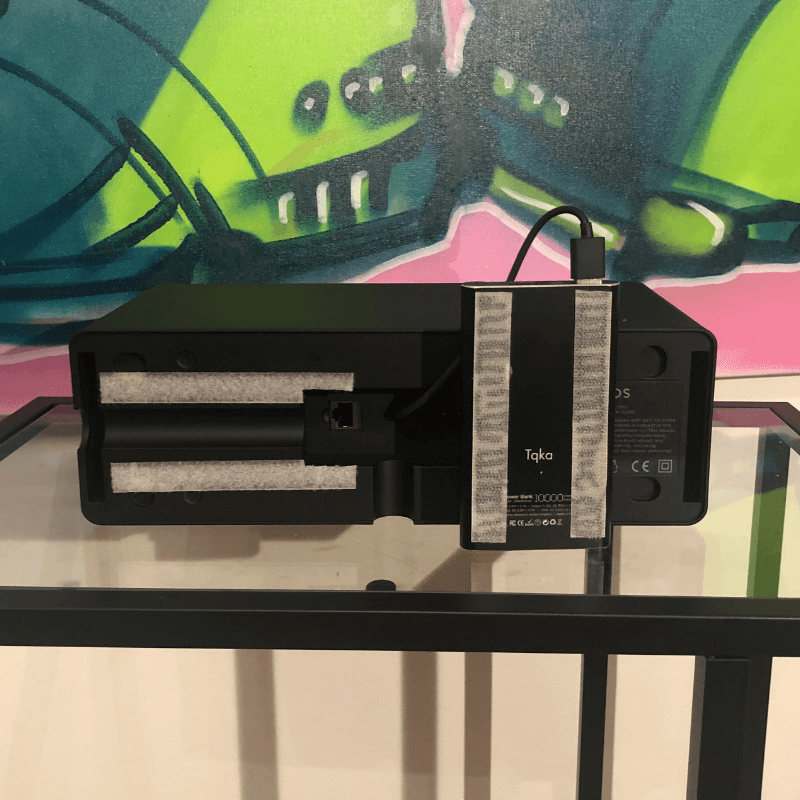
Connect power bank
Connect your power bank and fix it with velcro on the back. Sorry, had only white one. Next time I will use this (Amazon affiliate link).